Help-R&R-Vehicles
ADRC Ride Scheduling system Vehicles
Vehicles

The Vehicles module allows the user to add, view, and edit records on county-owned vehicles. We are not tracking information on driver-owned vehicles.
This Module shows Details with information including the basics of make and model as well as where the vehicle is stored when not in use, where the vehicle is maintained and it’s service history and a list of any known issues.
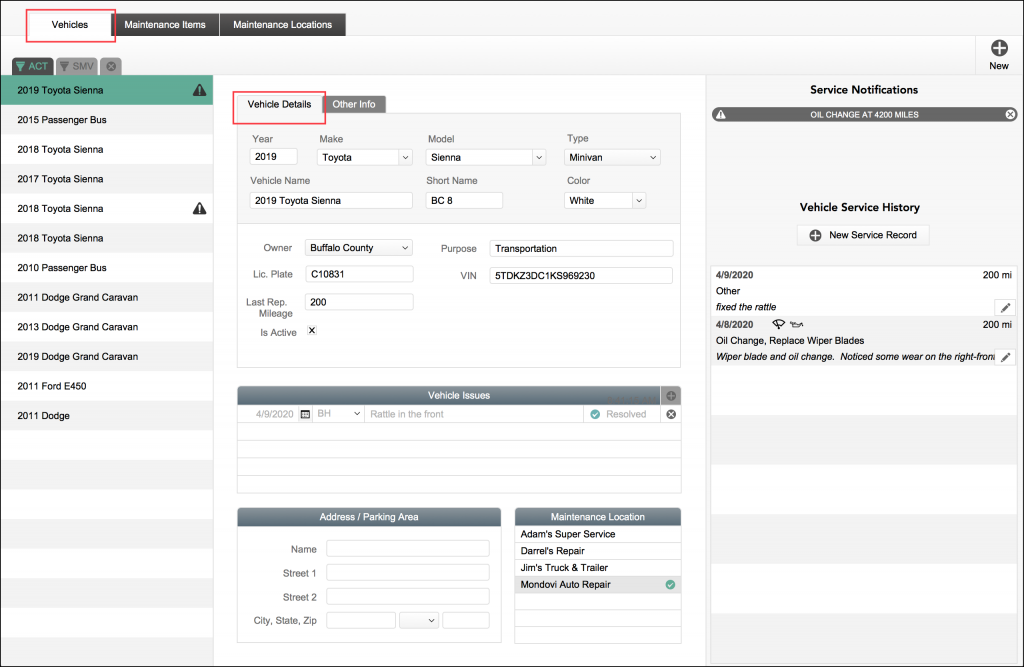
Vehicle details editing
Vehicles – Other Info tab
You’ll notice on the Vehicles tab, there is a sub-tab area for “Other Info”. This area holds a small number of fields for less-often used information like whether or not it is a ‘5310 Vehicle’ or has handicap features… the only thing that changes on this screen is the area indicated in the image. If you blink when clicking the tab, you might miss the change. 😉
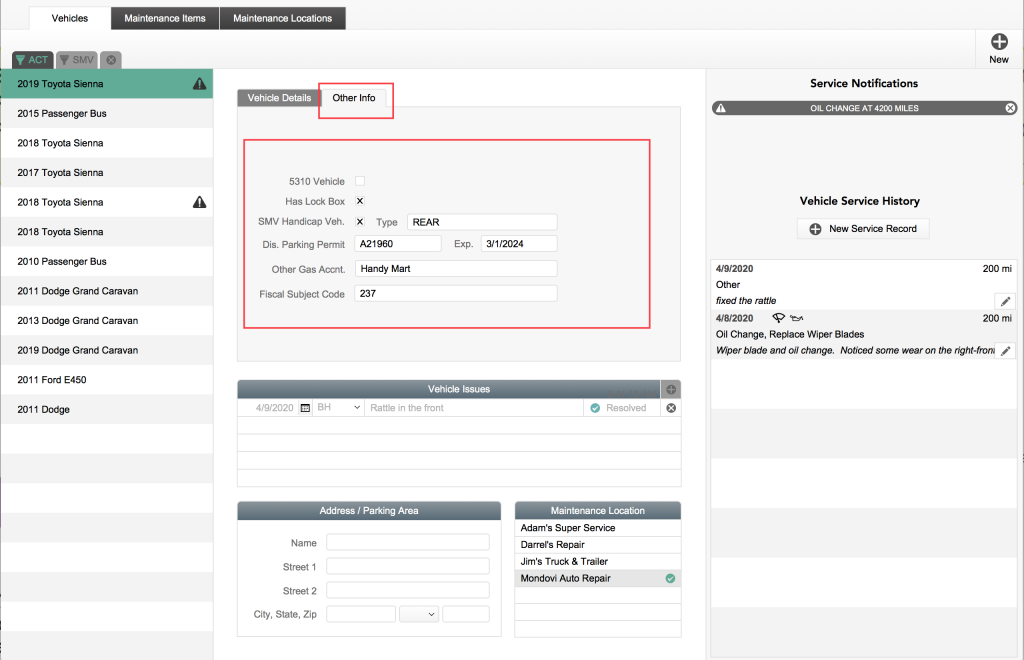
Vehicle Other Info tab
Vehicles – Maintenance Items tab
The Maintenance Items tab is where you can define the items that are used in the Service History Wizard process. You can add items if needed by clicking the ’New’ button in the upper-right of the screen and specifying a name and if it is recurring then adding an interval.

Vehicle Maintenance Items
Adding a Maintenance Item
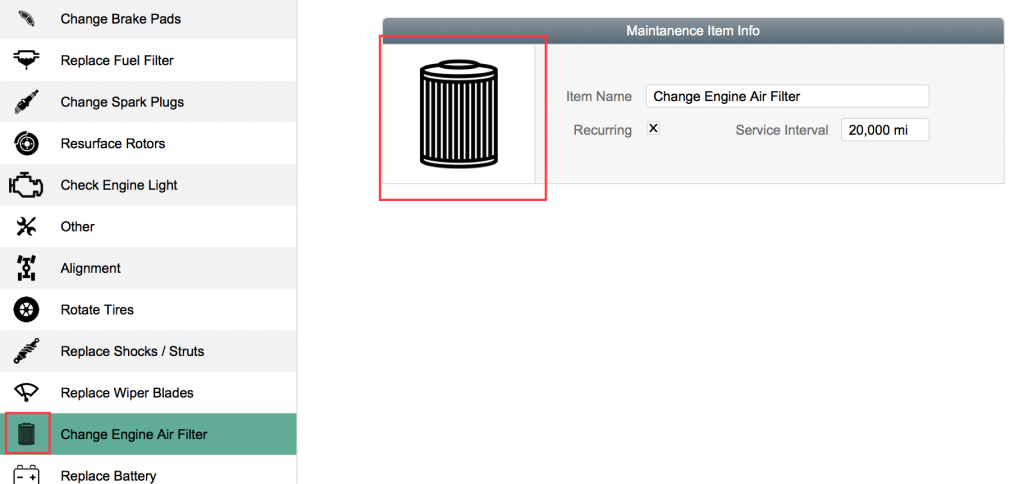
If you decide you need a new item, you can add it using the plus-sign button in the upper-right of the screen. This new item will get an icon that we chose for all new items (based on the “Other” item). It is possible to use your own, and it’s possible to use one from one of the other items. The details for doing so are here:
Choose the item whose icon you want to copy.
Existing item chosen
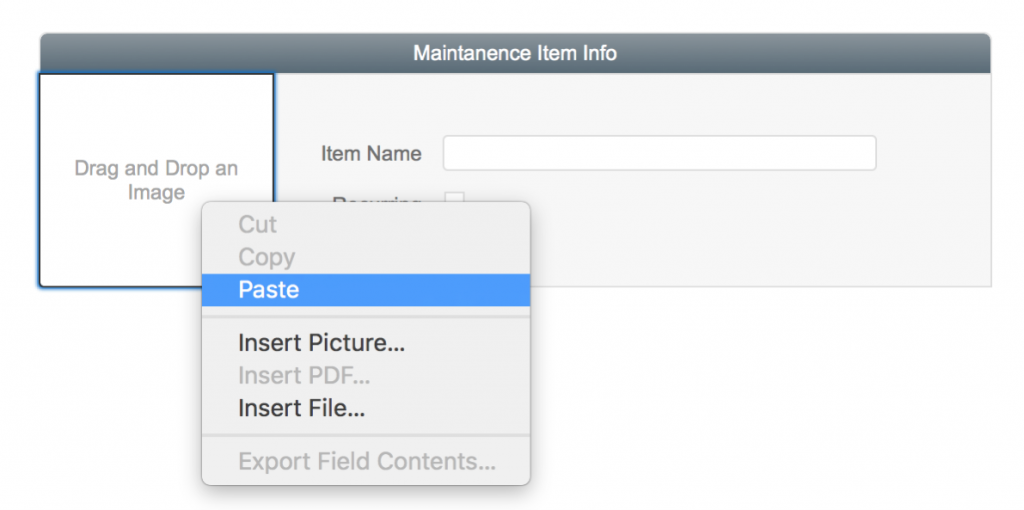
Right-click on the image and choose copy.
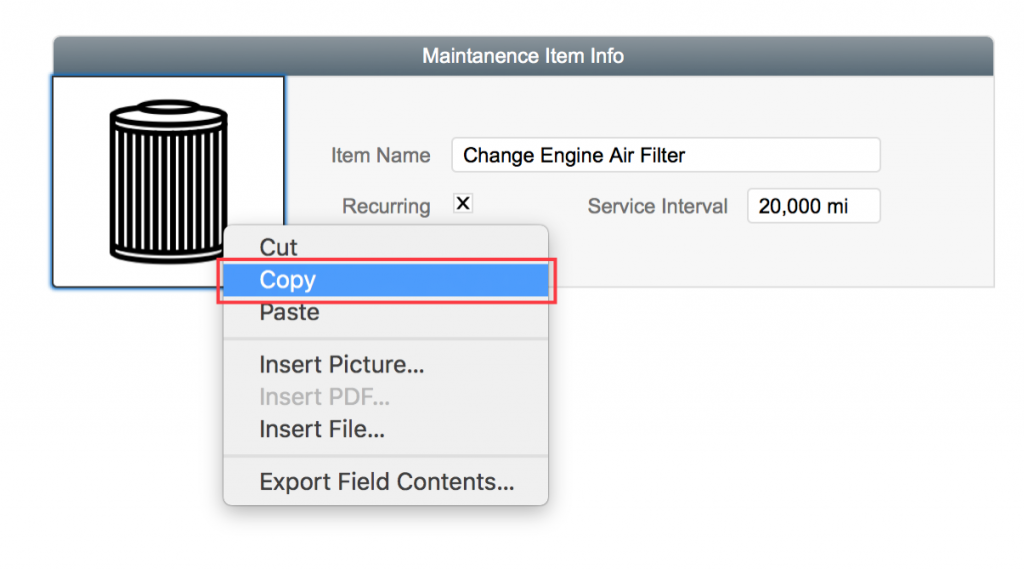
Copy the image
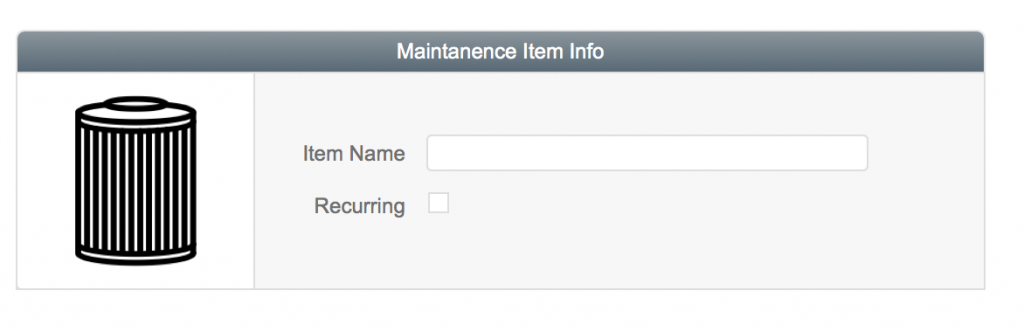
Then choose the new item or make a new item.

New item selected
Choose paste from the context menu
Pasting the new icon
New image pasted
Finish filling in the form
Done.
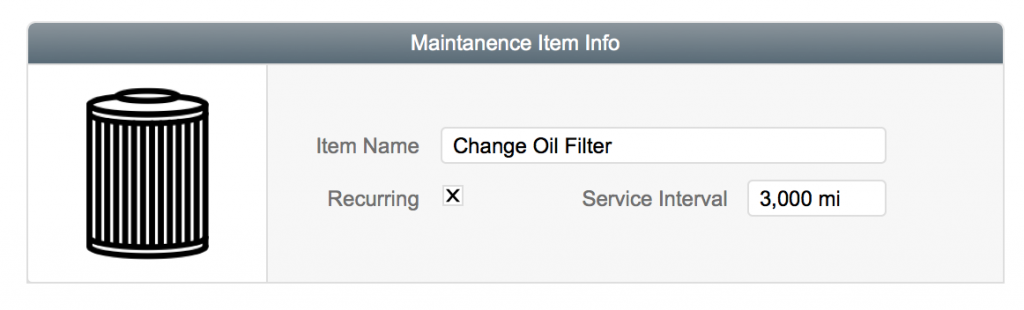
New item added
Adding a Service Record
To the right of the Vehicle record is the Service History. When you have work done on a vehicle, click the button to create a new record and you’ll be walked thru the wizard process to describe the work.
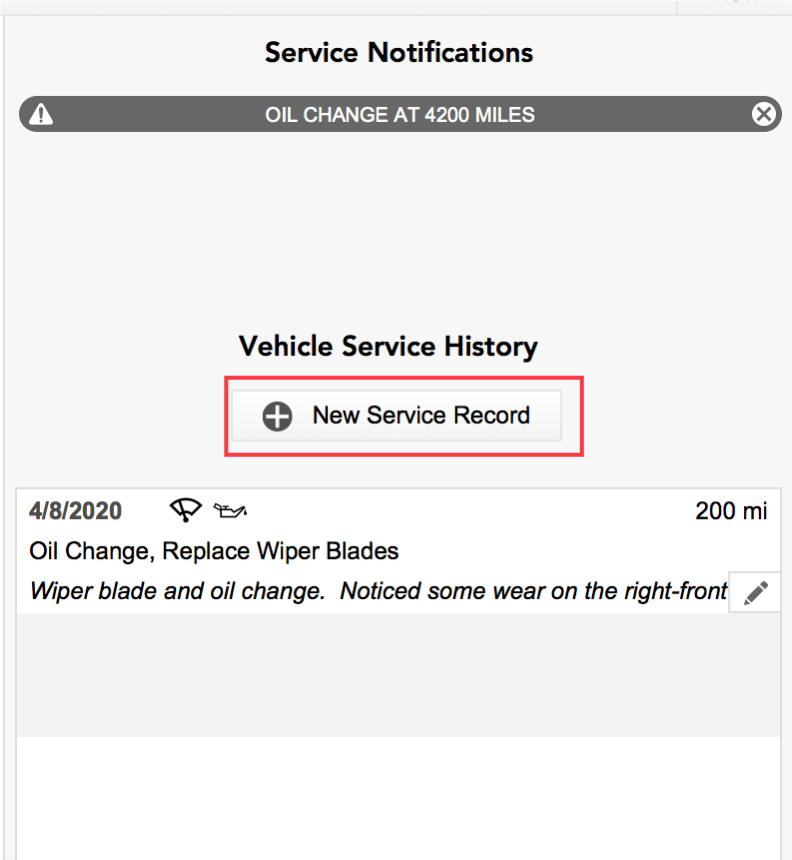
How to start… adding a record of servicing a vehicle
Step 1 shows your choices of Maintenance Items. You can click on as many of these as needed to describe the work done. The ‘Next’ button moves you to the next step in the process but isn’t available until you choose at least one item.
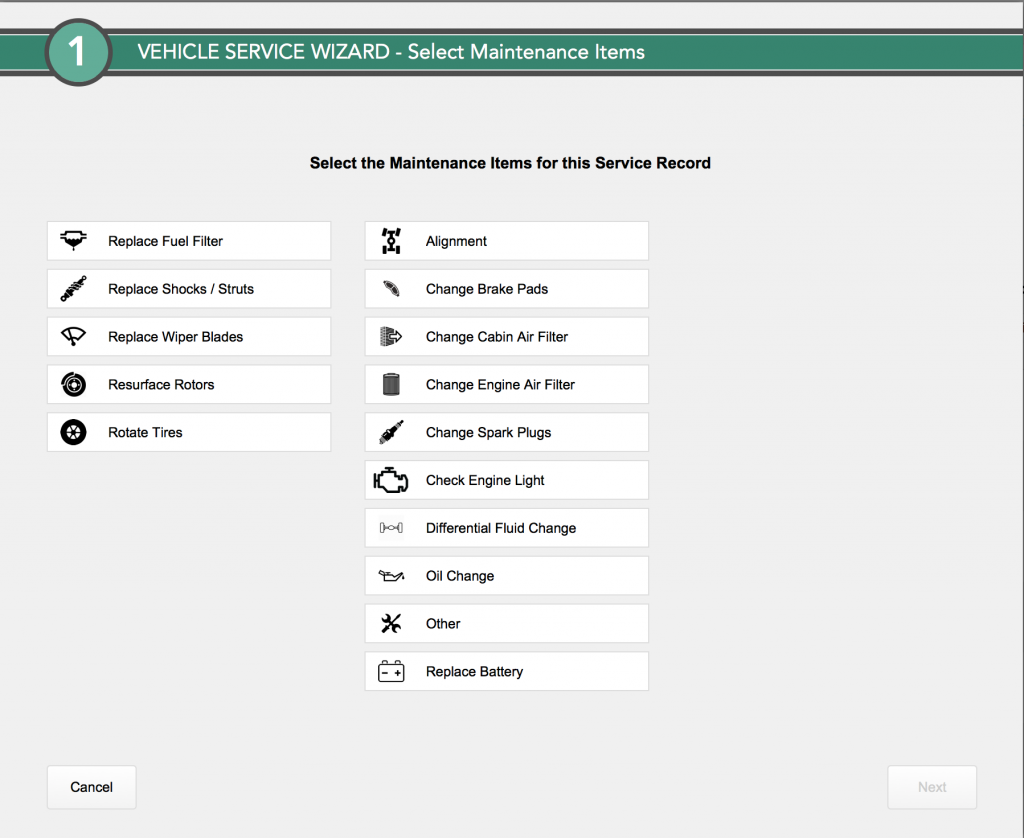
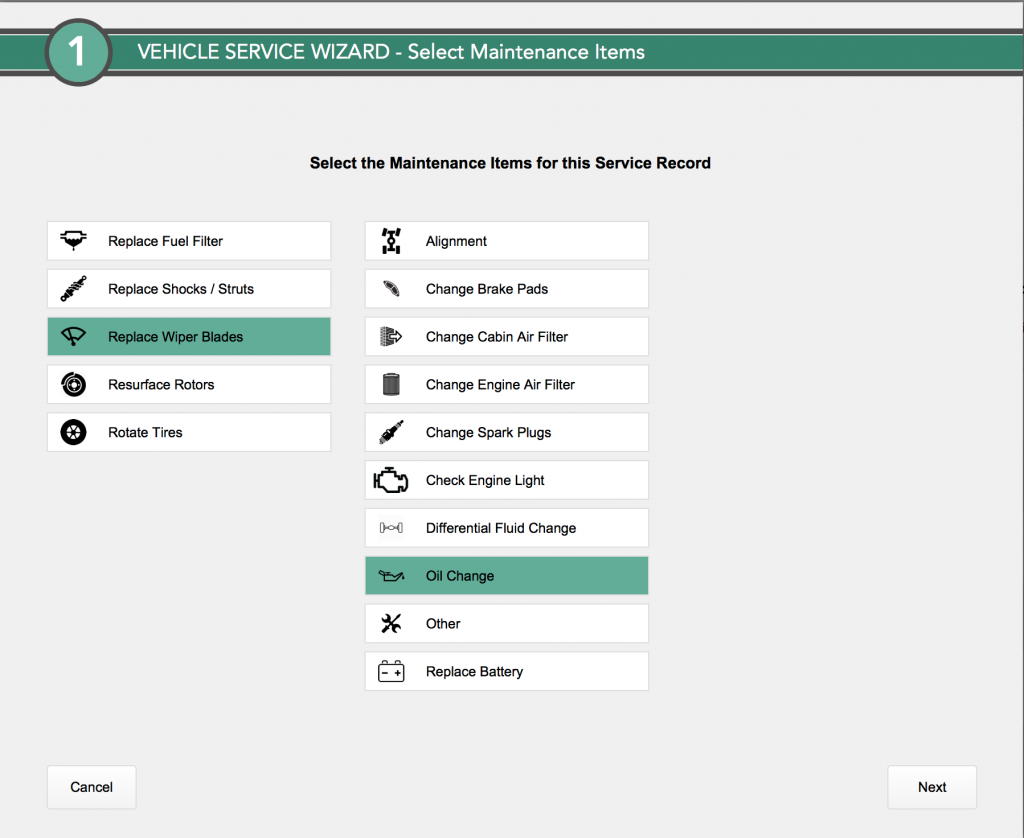
Step 1 – items selected
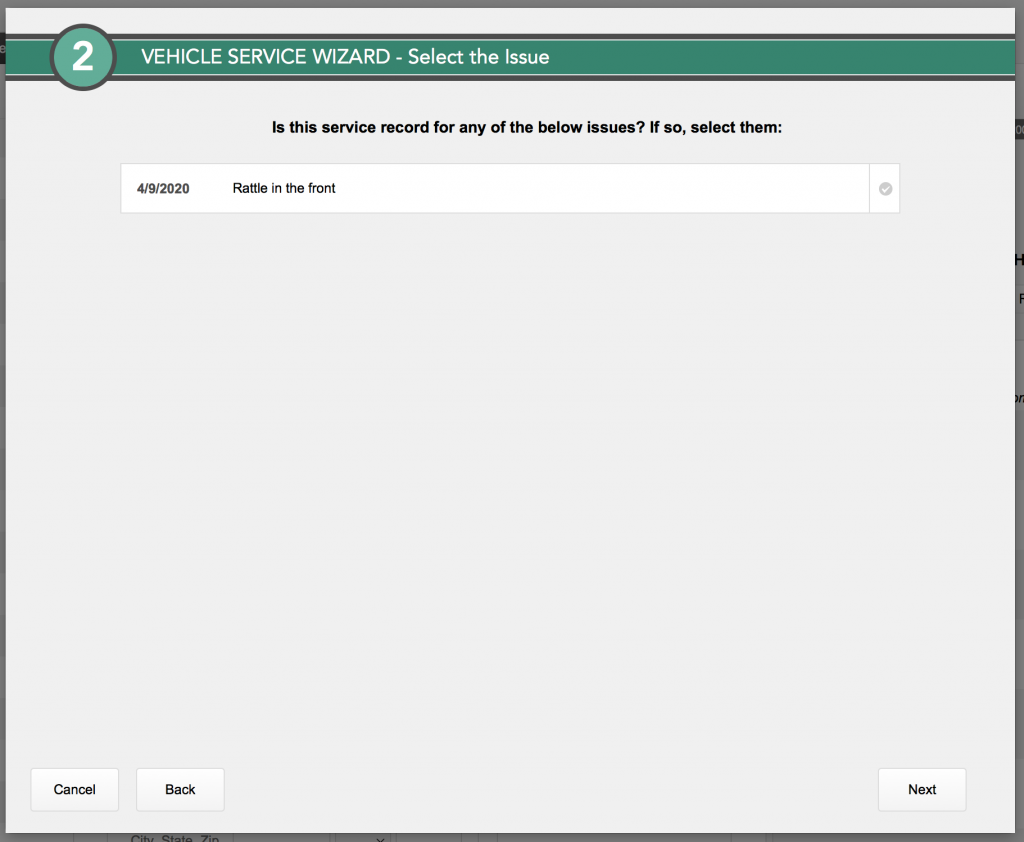
After clicking ‘Next’, you’ll see one of two screens. If there are any known issues with the vehicle, you’ll see a step 2 asking if this Service record is related to one of them. If it this is for a known issue, you’ll select ‘Other’ on Step 1 and click Next, showing Step 2
Step 2
Select the known issue you’re having serviced (if there was more than one, they’ll both be listed) and click Next. If this was just standard Maintenance and you’re not addressing a known issue, click Next without selecting one. In our example here we are selecting the issue…
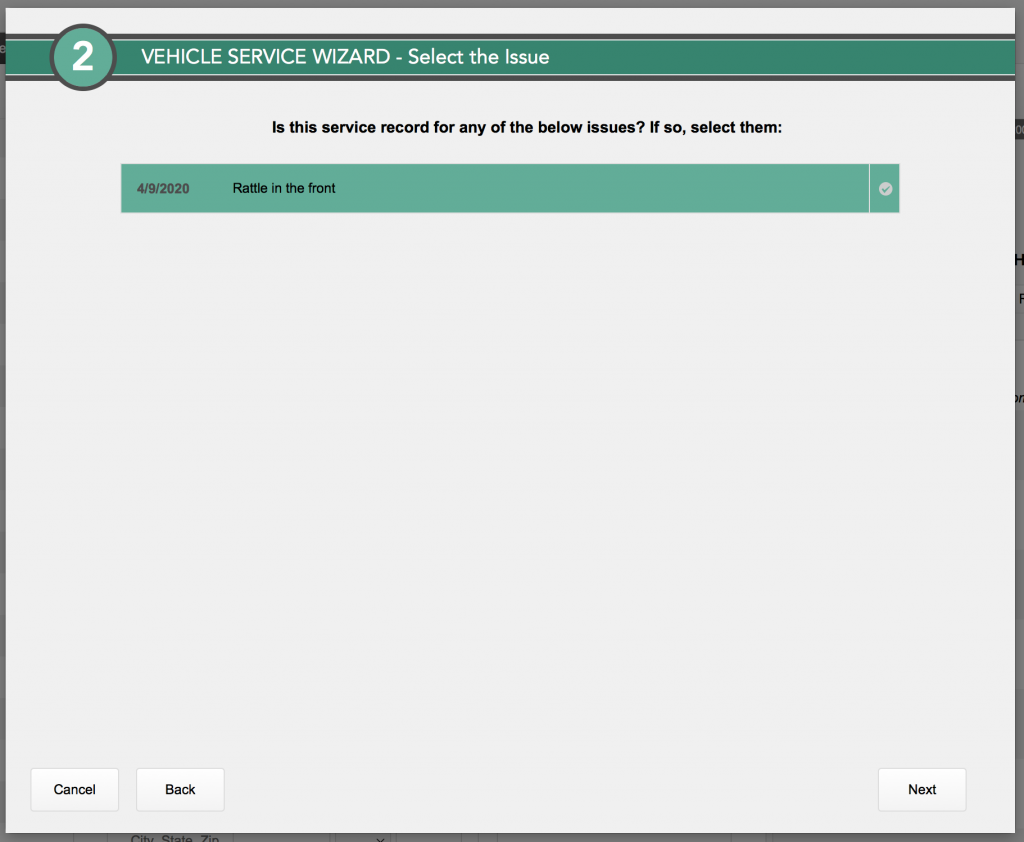
Step 2 – item selected
Clicking Next, we see the Service record details and we type in a description of how that went. In this example we add “fixed the rattle” and perhaps we drag an image of the related invoice into the container that will store it.
If you need to change which Auto Shop did the work, you can select one from the drop-down menu.
Click Finish to return to the Vehicle details screen.
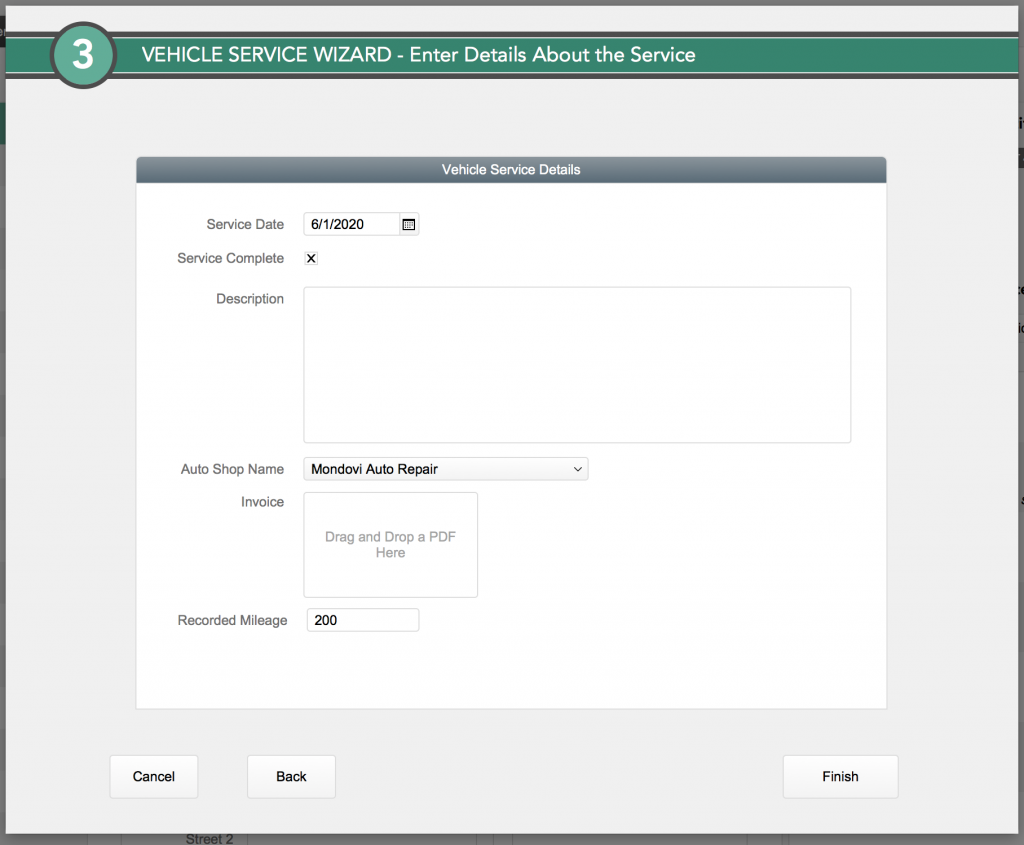
Step 3
If there are no ‘Known Issues’ with the vehicle, the Service Record process will skip Step 2 and move straight to Step 3. A Service Record can contain work from both a known issue and regularly scheduled maintenance.
Vehicles Module – Maintenance Locations tab
The system holds a list on the Maintenance Locations tab of the places the county takes vehicles for service. These Maintenance locations are added by clicking the plus sign button in the upper-right of the screen and filling out the form. An image of the location can be added by dragging and dropping it to the marked spot in the form.
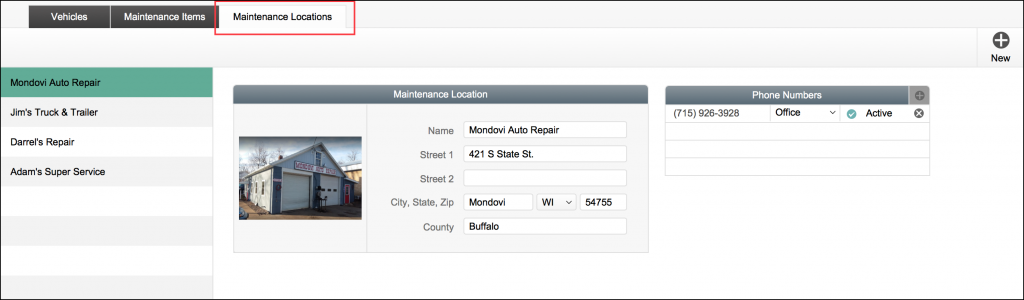
The list of locations for Vehicle maintenance
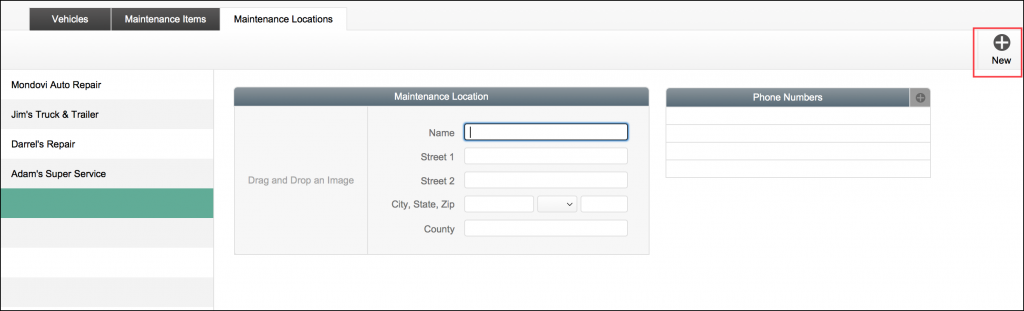
Add a location by clicking on the plus-sign button